
Last updated October 16, 2026
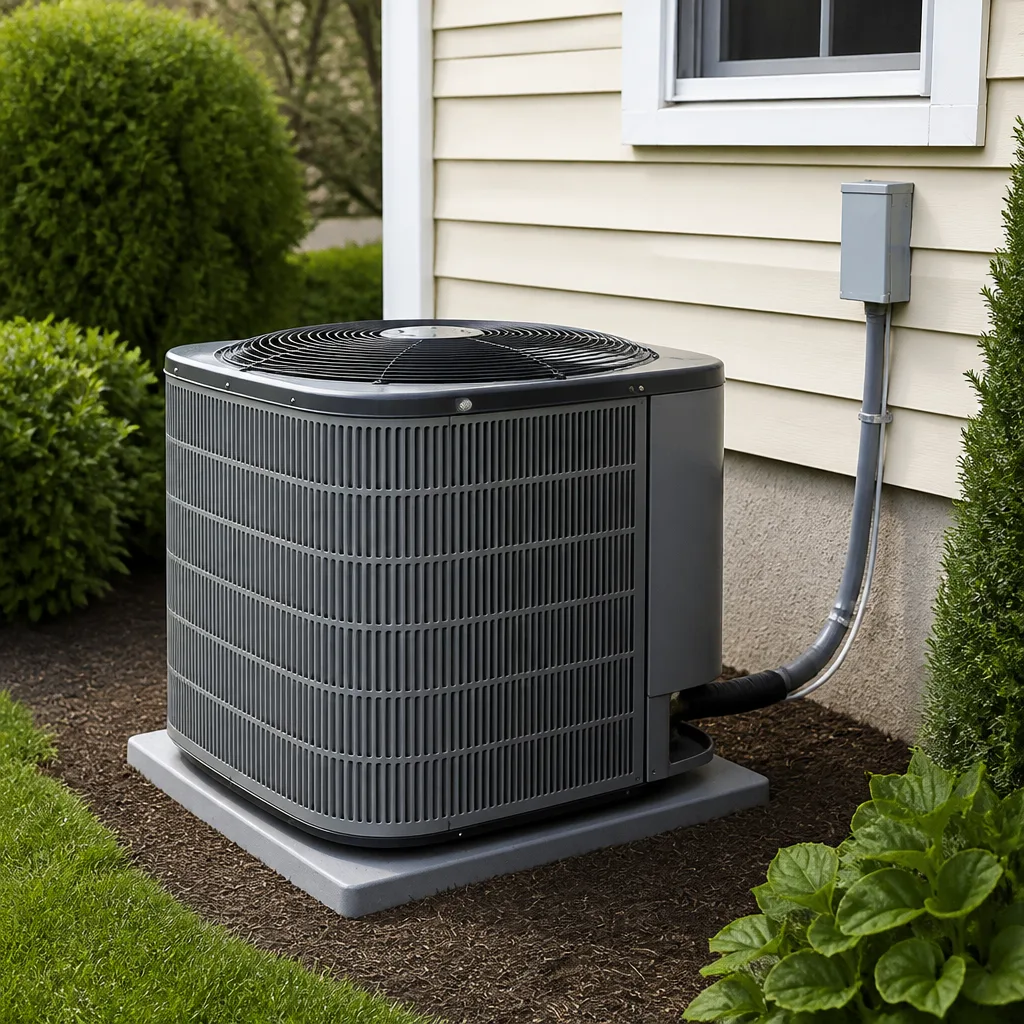 AC repair
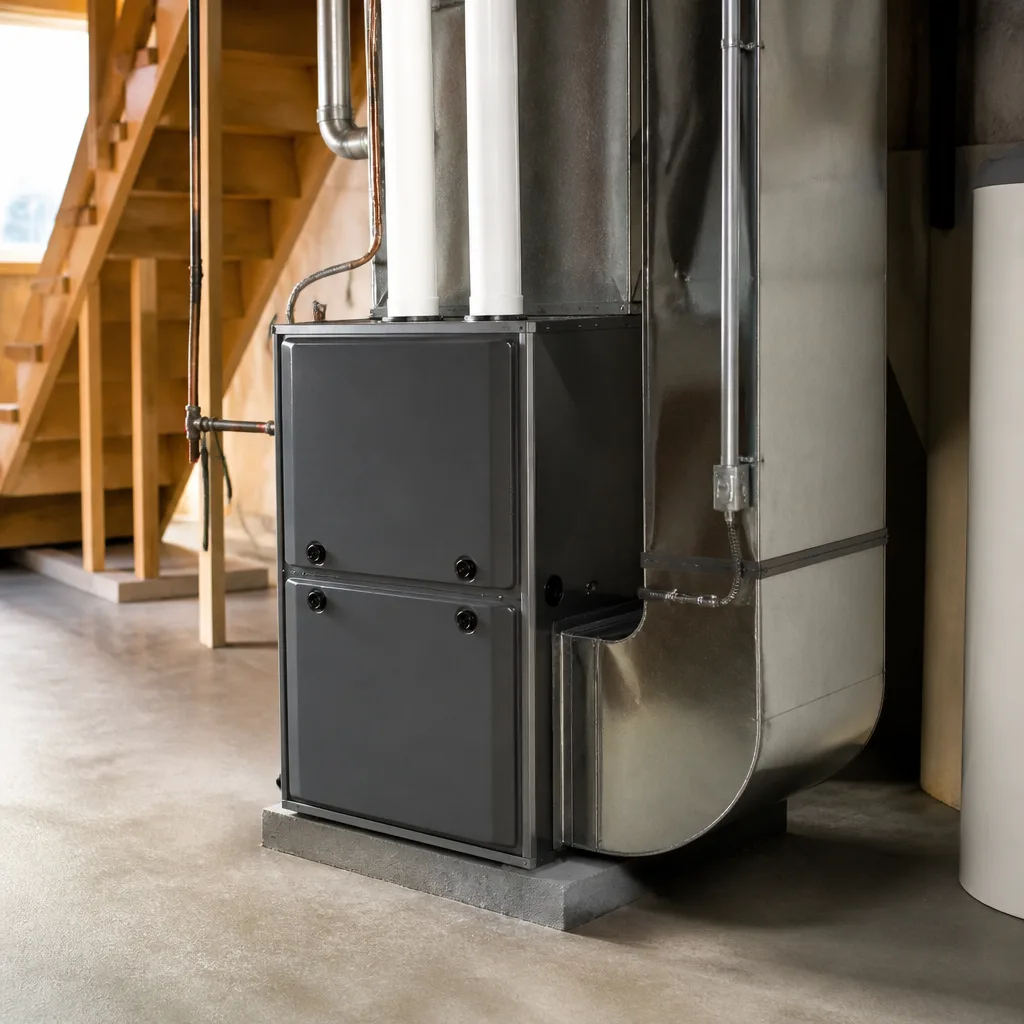 Furnace & heating
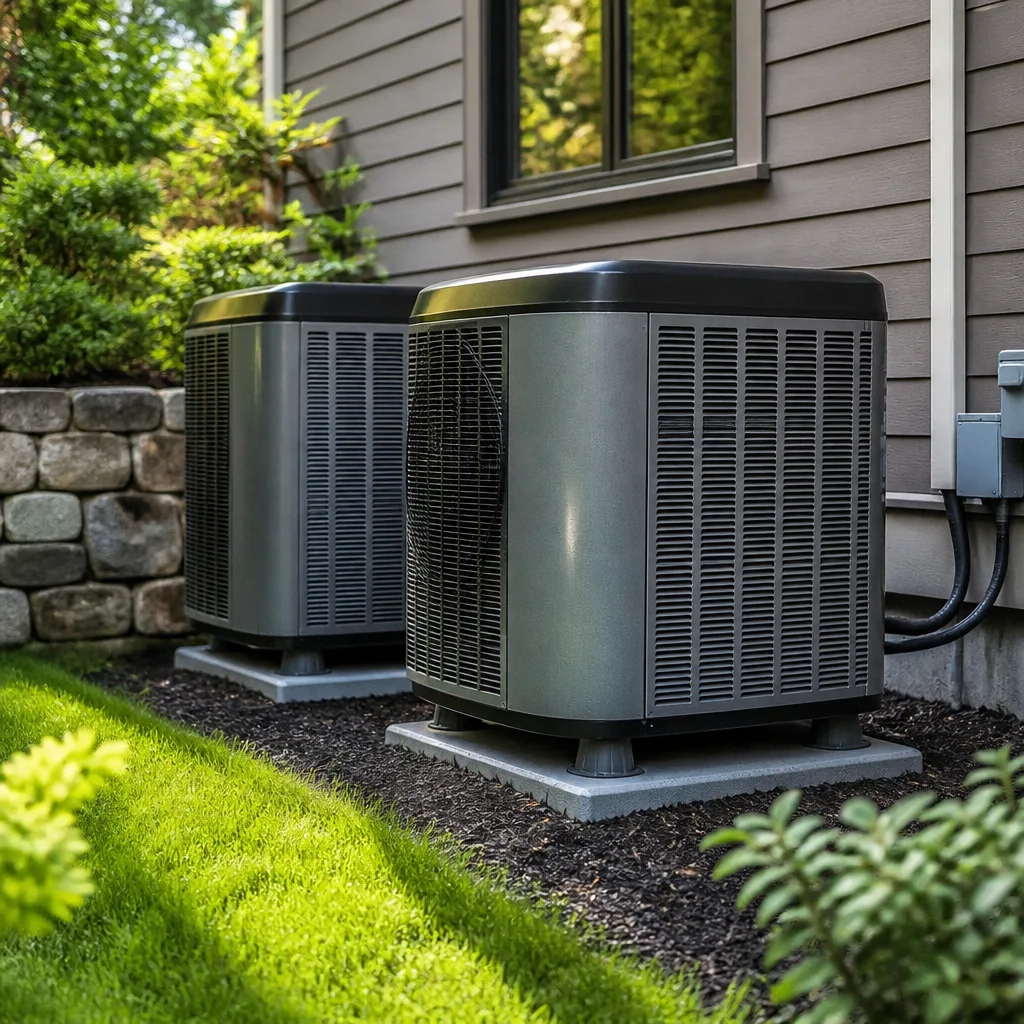 Heat pumps
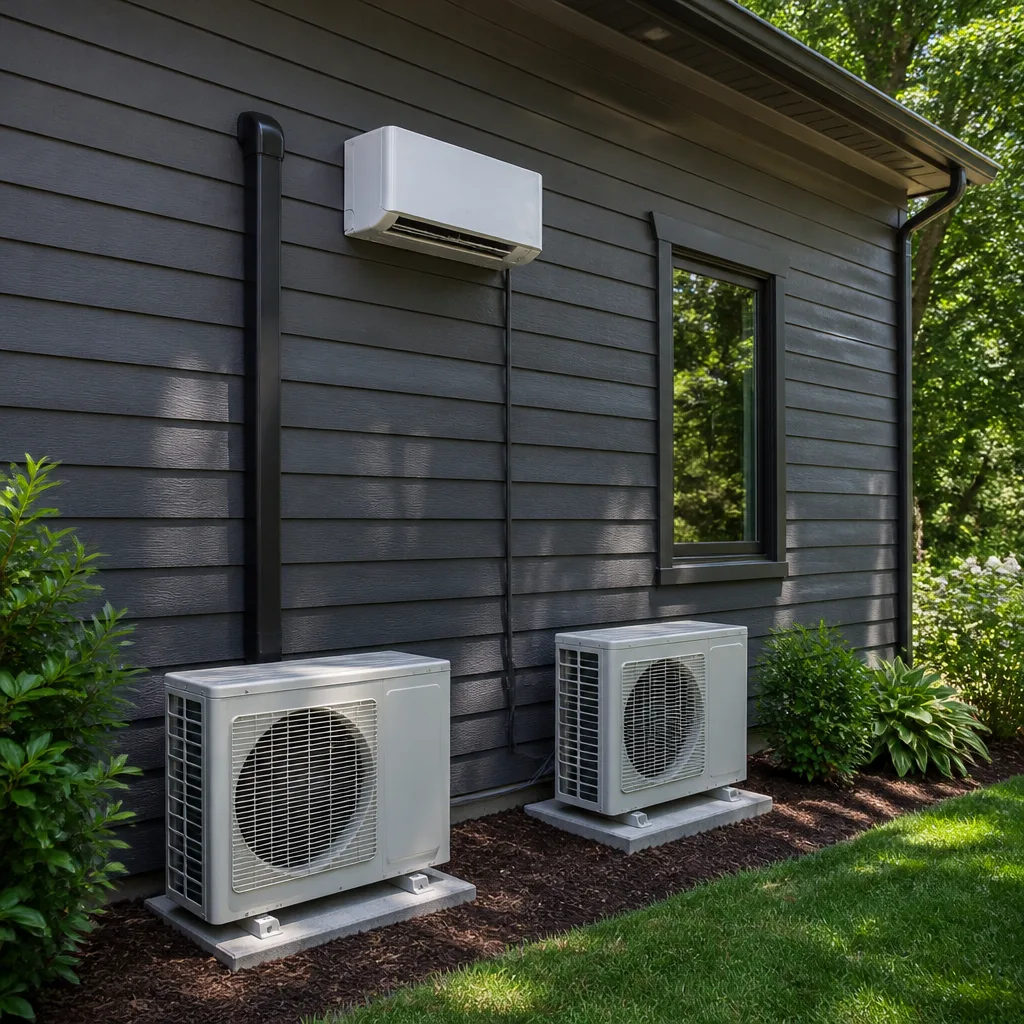 Ductless mini splits
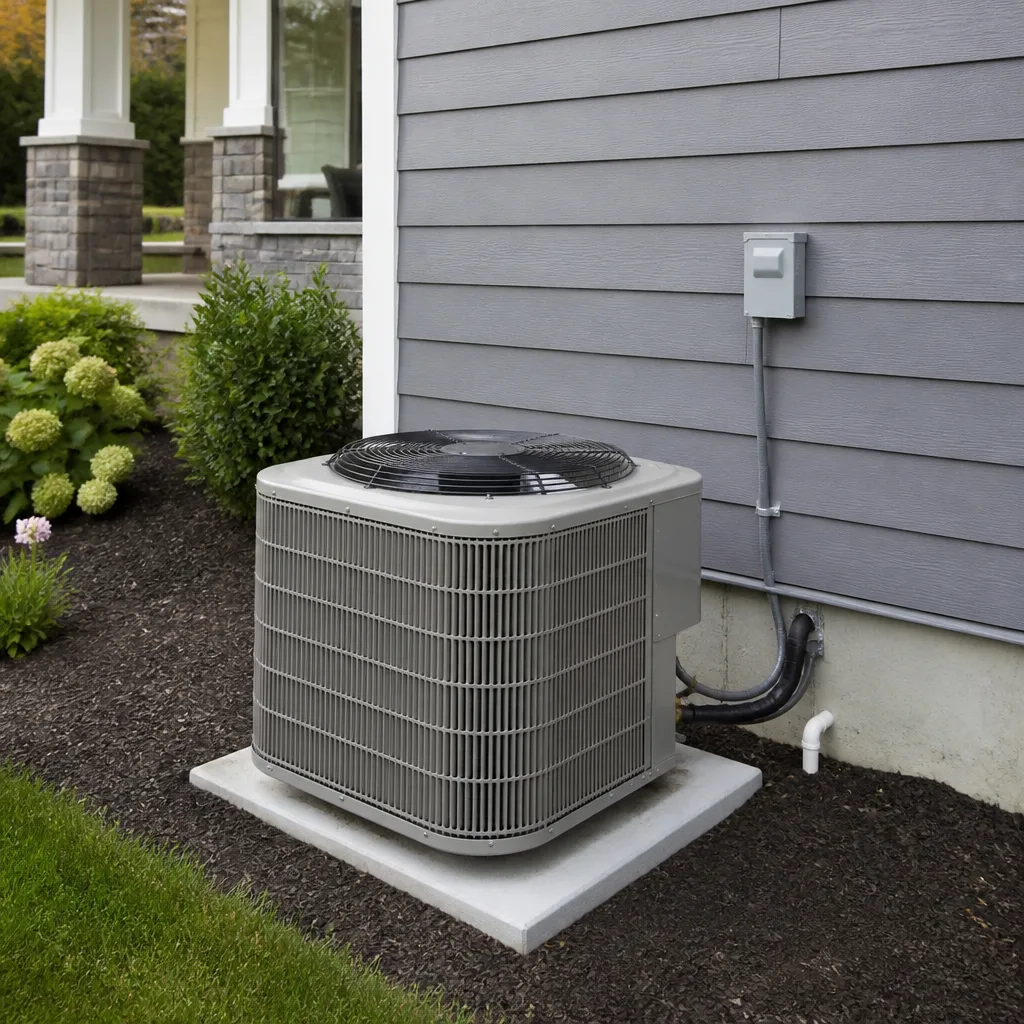 Carrier
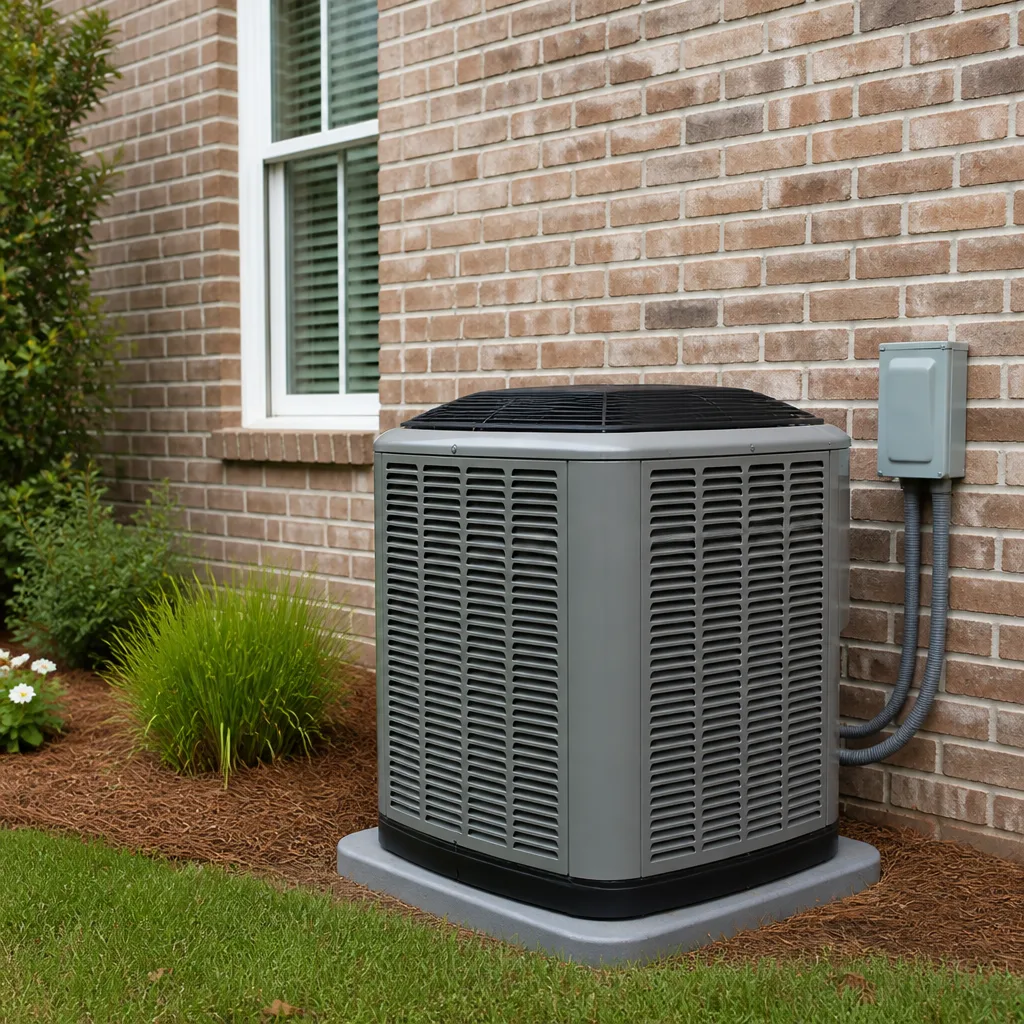 Trane
Trane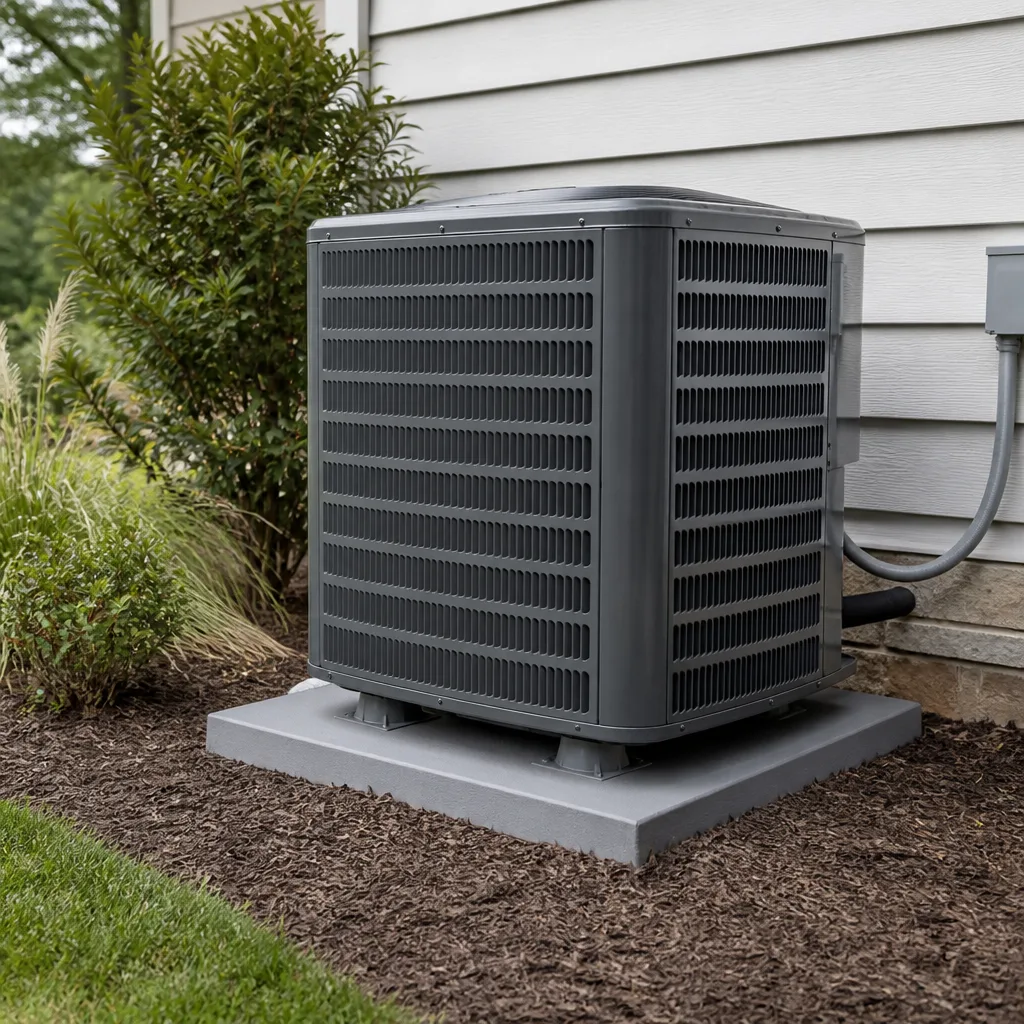 Goodman
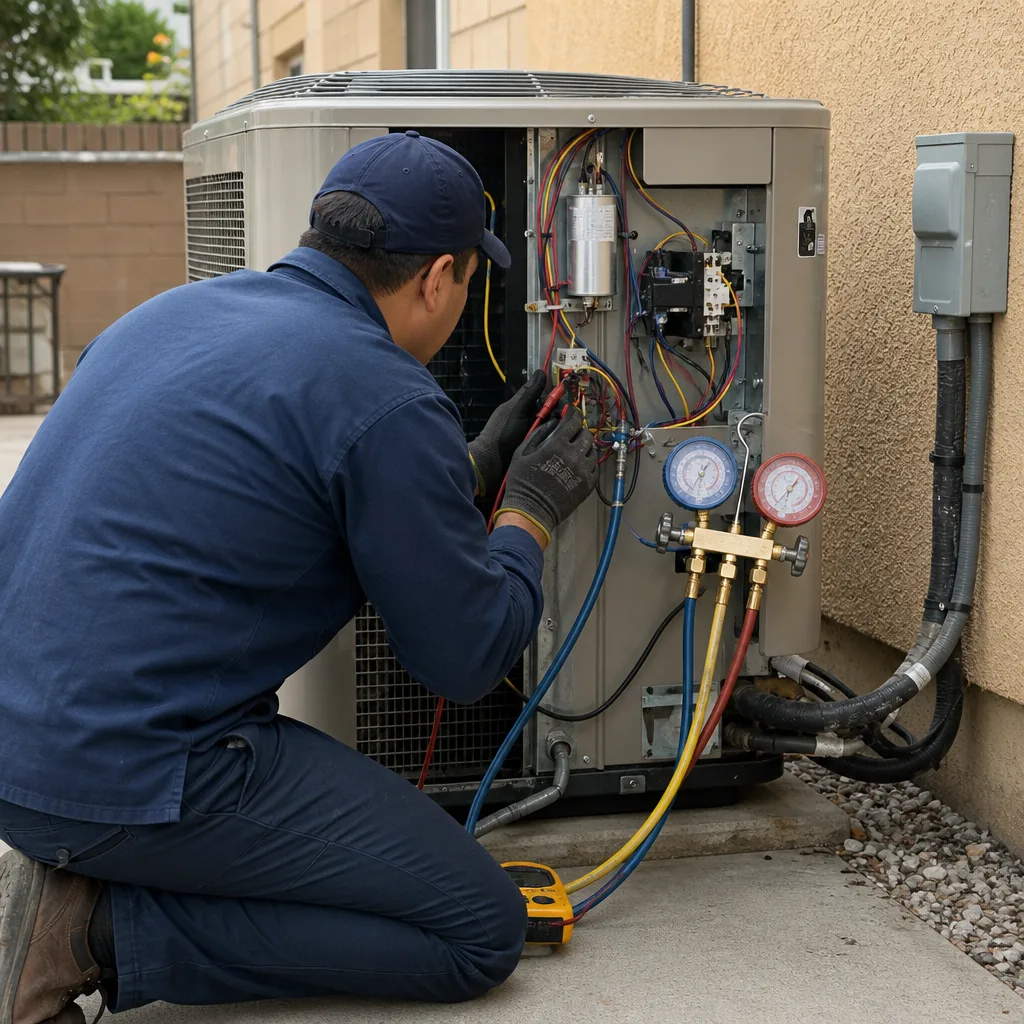
Seasonal tune-up and full diagnostic on your Carrier, Trane, or Goodman system - readings shown to you before any repair is proposed
Diagnosis first, numbers second - you approve the repair price before a single part goes in.
Get your free estimateAC Repair Maintenance Checklist for Santa Clarita Homeowners
A standard 1-inch filter in Santa Clarita during a Santa Ana wind event can load up to its airflow-restricting limit in under three weeks. That single fact upends the generic “change every 90 days” advice plastered across every national HVAC blog. This guide is built for the SCV specifically: our dust, our wildfire smoke seasons, our 105°F weeks in July and August, and our freeze nights in December. You’ll learn what actually fails here, when to check it, what you can safely do yourself, and what to leave to a technician-check our DIY vs Professional HVAC: The Santa Clarita Homeowner’s Decision Guide for the full breakdown.
Styles & brands we work with
Quick Answer
The essential AC maintenance checklist for Santa Clarita homeowners is: check and likely replace your air filter every 3-6 weeks during wind and fire season (not 90 days), keep the condenser coil clear of caliche dust and cottonwood seed buildup, listen for short cycling, watch for ice on the copper line set, and schedule a professional tune-up once a year before the first major heat wave. Those five items prevent roughly 80% of the AC Repair calls we see from May through September. Everything below explains why these matter more here than in most of Southern California, and how to execute each one properly.
Table of Contents
- Month-by-Month Task Calendar for Santa Clarita
- The Filter Schedule That Actually Works in the SCV
- Condenser Coil Inspection: Caliche Dust and Cottonwood Buildup
- Refrigerant Leak Checklist: What You Can Observe Before Calling
- Runtime Benchmarks: What a Healthy 3-Ton Unit Should Do at 100°F
- Maintenance Agreements: What They Cover, What They Exclude, and Three Questions to Ask
- What You Can Safely Do Yourself (and What You Shouldn’t)
- Common Mistakes to Avoid
- When to Call a Professional
- Frequently Asked Questions
- The Bottom Line
Month-by-Month Task Calendar for Santa Clarita
Santa Clarita’s climate does not follow a national average. We get spring wind events that coat everything in dust, a summer that pushes systems to their limits, a fall fire season that loads the air with ash and smoke particulates, and winter nights that drop low enough to trigger heat pump defrost cycles. Here is the calendar we use with our own customers across the SCV.
March and April: Pre-Season Preparation
Before the first 90°F day hits, do these four things. First, replace the air filter if you haven’t in the last 30 days. Second, walk outside and look at the condenser unit; check for leaves, dirt, and any debris that accumulated over winter. Third, run the system for 20 minutes in cooling mode and confirm it reaches the set temperature without short cycling (turning on and off every few minutes). Fourth, listen for any new rattling, buzzing, or hissing sounds coming from the outdoor unit or the air handler.
May through September: Peak Season Vigilance
During Santa Clarita summer, your system runs more hours per day than almost anywhere else in LA County. Check the filter every 2-3 weeks, not monthly. Inspect the condenser coil at least once a month for caliche dust accumulation. Watch your energy bill for unexplained spikes. Listen for the compressor turning on and off rapidly; that is short cycling and it is a symptom, not a condition you should tolerate. If ice ever appears on the copper refrigerant lines at the outdoor unit, shut the system down at the thermostat and call a professional, because running it further can destroy the compressor.
October and November: Fire Season Response
Wildfire smoke is fine particulate matter. Your filter is the only defense your system has against it. During active fire events in or near Santa Clarita, check the filter weekly. Ash and smoke particulate will turn a white filter gray or brown within days. After a significant smoke event, replace the filter even if it doesn’t look terrible; the fine particles embed deep in the media and restrict airflow before visible discoloration becomes dramatic. Also inspect the condenser coil after any major wind event; ash settles and can combine with moisture to form a paste that doesn’t rinse off easily.
December through February: Frost and Cold Nights
Santa Clarita does get freeze nights, especially in the canyons and the newer developments up in Valencia and Stevenson Ranch with less thermal mass. If you have a heat pump, make sure the outdoor unit is clear of debris and the defrost cycle is functioning; you should hear it kick in periodically on cold, humid nights and see brief steam rising from the unit. If ice builds up on the coil and does not clear within a few minutes, that’s a defrost failure and needs a service call. For homes with a standard furnace plus AC, winter is the right time to check the condensate drain line on the indoor coil; if it was blocked during summer, you may not notice until the next cooling season.
- Filter cadence changes by season: every 2-3 weeks in summer and fire season, monthly in spring, and as needed in winter.
- Condenser coil inspection is monthly during peak season, after every major wind event, and after every significant smoke event.
- Short cycling and ice on refrigerant lines are never normal; both justify a service call.
- Heat pump defrost issues show up on Santa Clarita’s coldest winter nights; test the system before you actually need it.
The Filter Schedule That Actually Works in the SCV
The standard advice from filter manufacturers and national blogs is to replace a 1-inch filter every 90 days. That guidance was written for homes in places like Ohio or Virginia, where the air has moisture and pollen but not our particular mix of fine dust, wildfire smoke, and relentless summer runtime. Here is the reality of Santa Clarita air.
Santa Ana wind events pick up dust from the high desert and carry it over the passes into the SCV. The particulate load on those days is measurable on every horizontal surface in your home within hours. Your HVAC filter sees all of that, because it is the collection point for every cubic foot of air that moves through your return duct. During a sustained wind event, a 1-inch filter can load up to its airflow restriction limit in two to three weeks. Once that happens, the system is working against itself: the blower motor strains, the evaporator coil gets too cold, and the system runs longer and cools less.
What this means practically: during spring wind months and active fire season, check your filter every two weeks. During the peak of summer and when the A/C is seeing heavy daily runtime, check every three weeks. In the mild months when the system is barely running, you can stretch to six weeks. If you run a 4-inch media filter cabinet, the cadence stretches out, but you should still check visually every month because smoke and dust loading is not linear.
There is no perfect universal answer, but here is the working rule we give our customers:
- 1-inch filter, spring wind season (March-May): inspect every 2 weeks, replace when visibly loaded.
- 1-inch filter, summer peak (June-September): inspect every 3 weeks, replace as needed.
- 1-inch filter, fire season (October-November): inspect weekly during active events, replace immediately after a heavy smoke day.
- 1-inch filter, winter (December-February): inspect monthly, replace when dirty.
- 4-inch media filter: inspect monthly year-round, replace every 4-6 months depending on loading.
Use a MERV rating between 8 and 11 for Santa Clarita conditions. Higher MERV is not better on a standard 1-inch filter; MERV 13 and above is too restrictive for most residential systems and will create the same airflow problem it was meant to solve. If you want better filtration, go with a 4-inch media cabinet and a MERV 11 or 13 media filter, which has more surface area and lower pressure drop than a 1-inch equivalent.
If you aren’t sure what filter size or rating your system needs, the Dalton Heating & Air Santa Clarita home page has more about how we evaluate existing ductwork and filter setups during a maintenance visit.
Condenser Coil Inspection: Caliche Dust and Cottonwood Buildup
Every Santa Clarita homeowner should know what caliche dust is. It is the fine, pale, alkaline dust that blows in from the high desert and the exposed hillsides around the SCV. It is finer than typical household dust and it has a particular habit: it packs into condenser coil fins and forms a crust that ordinary airflow can’t push through.
Cottonwood trees are the second major offender. If you live in a neighborhood with mature cottonwoods, you’ve seen the seed fluff drift through the air in late spring and early summer. It is not just an allergen; it gets pulled directly into the condenser coil and wads up in the fins. Left unchecked, a cottonwood-clogged coil can reduce your system’s efficiency by 20-30% and drive up compressor temperatures. Higher compressor temperatures shorten compressor life. That is an expensive repair, full stop.
How to Inspect Your Condenser Coil
- Turn the thermostat to OFF and, if accessible, kill power to the outdoor unit at the disconnect box mounted on the wall next to the condenser.
- Look at the coil from all four sides. The coil wraps around the perimeter of most units; you’re checking the fins for accumulated dust, seed fluff, and any visible clogging.
- Shine a flashlight through the coil from the outside. If you can’t see light through the fins, airflow is restricted and a cleaning is overdue.
- Check the area around the unit. There should be at least 18-24 inches of clearance on all sides. Shrubs, fences, or stored items too close will restrict airflow and create a recirculation loop where hot discharge air gets pulled back into the coil.
When a Hose Rinse Is Enough
If the coil has a light coating of dust and no caked buildup, a garden hose rinse from the inside out is usually adequate at the start of the season. Use moderate water pressure; a pressure washer is too aggressive and will fold the fins over, reducing airflow permanently. Rinse from inside outward so you push the dust back the direction it came in, not deeper into the coil.
When A Hose Is Not Enough
If you see caliche dust that has caked into a crust, cottonwood seed fluff packed into the fins, or any debris that does not move with a gentle rinse, do not resort to a pressure washer and do not use household chemicals. The coil needs to be pulled apart or professionally cleaned with a foaming coil cleaner and low-pressure rinse. Some coils need the top of the unit removed to properly access the interior face of the coil. That is a professional job. We regularly see condensers in the SCV where the coil was 60-70% clogged but the homeowner had no idea because the unit was still “working.” It was working hard, not working well.
If you are already at the point where the coil needs professional attention, you may as well have the entire system gone through. Our AC Repair in Santa Clarita page explains what a full diagnostic includes and what it costs.
Refrigerant Leak Checklist: What You Can Observe Before Calling
A refrigerant leak is not something you can fix yourself. Refrigerant is a controlled substance, and in California it is illegal for an unlicensed person to handle it. But you can absolutely identify the warning signs of a low charge before the system fails completely. Here is the homeowner-observable checklist.
First, understand what low refrigerant does. Your system depends on a precise volume of refrigerant to absorb heat inside and reject it outside. When a leak develops, the volume drops. The evaporator coil inside gets too cold, condensation freezes on it, and the system can no longer transfer heat effectively. That is where all the visible symptoms come from.
Checklist: What to Look For
- Ice on the copper line set at the outdoor unit. The larger of the two copper lines is the suction line. If the charge is low, frost can form on this line, often before the system stops cooling altogether. Ice on the line is a definitive sign of a problem. Shut the system down and stop running it.
- Ice or frost on the indoor coil or the line set inside the house. This is less visible unless you have an open air handler closet in the garage, but worth checking if cooling performance has dropped.
- Short cycling. The system turns on, runs briefly, shuts off, then repeats. Low refrigerant causes the low-pressure safety switch or the thermostat to trip early. You will feel it as inconsistent cooling and hear it as the outdoor unit kicking on and off.
- Warm air blowing from registers when the system is set to cool. Low charge means the system can’t absorb enough heat from the indoor air. The temperature split between the return and the supply register drops. If the air coming out feels barely cooler than the air going in, that’s a red flag.
- Hissing or bubbling sound from the line set or indoor coil. Refrigerant escaping through a small leak can make an audible sound. It is faint, but if you hear it near the copper lines or the air handler, mention it specifically when you call a technician.
- Unexplained increase in energy use. A low-charge system runs longer to hit the same temperature. The compressor works harder. Your bill goes up for the same comfort level.
If you observe one or more of these, your job is not to find the leak. Your job is to shut the system off, stop it from damaging itself, and call a licensed technician. A low charge means the leak has been active for some time. A proper repair means finding the leak, repairing it, pressure-testing the system with nitrogen, pulling a vacuum, and then recharging with the manufacturer-specified refrigerant weight. Skipping any of those steps leads to a repeat leak or a compromised compressor. A professional will also check the compressor oil; low refrigerant starves the compressor of lubrication, and the clock is already ticking by the time you notice ice on the line.
Runtime Benchmarks: What a Healthy 3-Ton Unit Should Do at 100°F
Homeowners often ask us what “normal” looks like, so here are concrete numbers for a properly functioning 3-ton system during a 100°F Santa Clarita day. These are ballpark figures for a standard efficiency system in a reasonably insulated home. Variables like window area, ceiling height, and duct condition will move these numbers, but they give you a reference point.
- Temperature split: The air coming out of the supply registers should be 15-20°F cooler than the air returning to the system. If it’s 95°F at the thermostat return and the supply air is 75-80°F, the system is doing its job. If the split is under 12°F, something is off; if it’s over 22°F, the airflow is too low, which causes coil freezing.
- Cooling cycle length at 100°F outdoor temp: In the late afternoon heat, a properly sized system should run for 15-25 minutes per cycle, with 10-15 minutes off between cycles. Constant short cycles of 5-8 minutes suggest low refrigerant or an oversized system. A system that never shuts off from 2pm to 7pm during a heat wave is probably undersized or underperforming.
- Compressor amp draw: A healthy 3-ton compressor on a standard efficiency unit typically draws between 10 and 14 amps while running, depending on the specific model and outdoor temperature. The data plate on the outdoor unit lists the Rated Load Amps (RLA). If a technician measures the actual amp draw and it’s way below RLA, the compressor may be failing or the system may be undercharged. If it’s way above, the compressor is working against excessive head pressure, often from a dirty condenser coil or a failing capacitor.
- Condenser air temperature rise: The air blowing out the top of the condenser should feel noticeably warmer than the outdoor air, typically 15-20°F warmer. If the discharge air is barely warm, the system is not rejecting heat properly. On a 100°F day, the discharge air should be in the 115-120°F range.
You don’t need specialized tools to measure most of this. A simple digital thermometer can give you the temperature split at the registers. Your ears and a stopwatch can give you cycle length. The amp draw requires a technician with a clamp meter, but it should be checked as part of any annual tune-up. If your system is failing these benchmarks, our Furnace Repair in Santa Clarita page may also be relevant, since the air handler and blower interact with the AC on every system.
Maintenance Agreements: What They Cover, What They Exclude, and Three Questions to Ask
A maintenance agreement is an annual contract with an HVAC company that includes one or two tune-up visits per year, priority scheduling, and usually a discount on repairs. In Santa Clarita, where the system runs hard for five months straight, an annual tune-up is not optional; the only question is whether you buy it a la carte or as part of an agreement.
What a Typical Agreement Covers
- One or two full system inspections per year (spring cooling check, fall heating check).
- Air filter replacement or a set number of filters included.
- Condenser coil cleaning, usually external rinse and sometimes chemical cleaning if needed.
- Electrical connection tightening at the contactor and capacitor terminals.
- Capacitor testing and replacement if weak.
- Refrigerant level check (pressure and superheat/subcooling verification).
- Condensate drain line flush.
- Thermostat calibration check.
- Priority scheduling and reduced diagnostic fees when a repair is needed during the year.
What Agreements Typically Exclude
- Refrigerant recharge: most agreements do not cover adding refrigerant. If the system is low, the agreement covers the diagnostic to find out, but the leak repair and recharge are billed separately.
- Major component repair or replacement: compressors, condenser fan motors, blower motors, coils, and control boards are not covered by a standard maintenance agreement. Some companies offer extended labor warranties or service plans that do cover some of these, but that is a different product and costs more.
- Ductwork repair or replacement.
- Damage from neglect, such as a clogged coil that has destroyed a compressor.
Three Questions to Ask Before Signing
- “What exactly is checked during the tune-up, and do you provide a written report afterward?” The answer should be a specific list, and the report should be handed to you in writing. If the company can’t articulate what the tune-up includes, the tune-up is probably not worth much.
- “Is the tune-up done by a technician who is actually licensed and background-checked, or is it a sales call in disguise?” Some companies use the tune-up visit to pitch replacement systems aggressively. That’s fine if the system genuinely needs it, but you should know going in whether the person at your house is a service technician or a sales rep wearing a technician’s shirt. Ask directly.
- “What is the guaranteed response time for agreement customers during a summer heat wave?” Priority scheduling means different things at different companies. If the agreement promises a 24-hour response for agreement customers but that’s the same as their non-agreement response, the priority benefit is worth less. A good answer is specific: same-day or next-day for agreement customers during peak season.
Our maintenance visits in Santa Clarita always include a written report of what was checked and what we found. The price is written before any work starts, and the technician is not paid commission on what they sell. If you’re considering a heat pump for a future replacement, our Heat Pump Installation in Santa Clarita page explains how a properly sized heat pump handles both the SCV summer and our winter nights, and what the installation process actually looks like.
What You Can Safely Do Yourself (and What You Shouldn’t)
There is a line between homeowner maintenance and technician work. Knowing where that line sits will save you money without putting you or your equipment at risk; our more guides & resources cover what to watch for. Here is the honest division.
Safe for Homeowners
- Filter replacement: This is the highest-value maintenance task you can do. No tools beyond basic knowledge of where the filter goes.
- Condenser area clearing: Remove leaves, debris, and anything growing within 18-24 inches of the outdoor unit. Trim shrubs and grass.
- Visual coil inspection: Looking at the coil costs you nothing and tells you a lot.
- Light hose rinse of the condenser coil: With the system off, a gentle rinse from the inside out is safe and effective for light dust.
- Thermostat battery replacement: If your thermostat uses batteries and the display dims or the system behaves erratically, start here.
- Registers and return grille cleaning: Vacuum the visible dust off supply registers and return grilles. Keep furniture and rugs from blocking return airflow.
- Condensate drain line check: If you have an accessible drain line in the garage or a condensate pump, check that water is flowing or that the pump basin is not overflowing during cooling season.
Leave It to a Licensed Technician
- Anything involving refrigerant: Adding, removing, leak-sealing, or recovering refrigerant is licensed work. It is also dangerous; liquid refrigerant can cause severe frostbite burns. Don’t touch it.
- Electrical work inside the unit: The capacitor stores enough charge to hurt you even with the power off, unless it’s properly discharged. Line voltage is present at the contactor. If you’re not trained, the inside of the electrical compartment is off-limits.
- Compressor or motor replacement: These involve both electrical and refrigerant connections, plus torque specifications that matter.
- Coil cleaning that requires removing the top or side panels: Once the unit is opened and parts are removed, it’s technician work. You risk bending fins, misaligning the fan, or failing to reassemble it correctly.
- Any diagnosis that points to the refrigerant circuit: If you’ve observed the leak checklist items above, shut it down and call. The longer a low-charge system runs, the more expensive the eventual fix.
One more note on safety, because it matters. The electrical work in an HVAC system is genuinely dangerous. The capacitor can hold a charge long after power is disconnected. Even a simple-looking part replacement can put you in contact with 240 volts. We recommend a trained professional for anything beyond the visual and light-cleaning tasks listed above. The cost of a professional repair is less than the potential cost of a mistake.
Common Mistakes to Avoid
- Following the 90-day filter rule blindly. In Santa Clarita, that rule fails during Santa Ana wind season and fire season. Check it more often and let visual loading be the guide.
- Closing registers in unused rooms to “save energy.” Residential systems are not designed for this. Closing registers increases static pressure in the ductwork, which strains the blower motor and can cause the evaporator coil to freeze. The furnace or air handler sees less airflow across the coil, not more efficiency.
- Planting shrubs or flowers around the condenser unit for aesthetics. It looks nice until the coil clogs and the compressor burns out. Keep at least 18-24 inches of clearance.
- Using a pressure washer on the condenser coil. High pressure folds the aluminum fins flat. Once the fins are folded, airflow drops permanently until the coil is combed out or replaced. A garden hose is the right tool.
- Ignoring ice on the line set because “it’s still cooling.” Ice is a symptom of low refrigerant or low airflow. The system is damaging itself every minute it runs. Shut it off and call.
- Replacing the filter with the highest MERV rating available. MERV 13 and higher on a 1-inch filter chokes airflow on most residential systems. Stick with MERV 8-11 on 1-inch filters, or install a proper 4-inch media cabinet for better filtration.
- Deferring a tune-up until the system fails. Most major AC failures in Santa Clarita are preventable. A capacitor that tests weak in March costs $150-$250 to replace. That same capacitor failing in July can take the compressor with it, and that’s a $2,500-$4,000 repair. The math is simple.
When to Call a Professional
Call a professional when you see ice on the refrigerant lines, when the system is short cycling, when the temperature split at the registers drops below 12°F, when you smell burning or electrical odors from the air handler or outdoor unit, when the condenser fan is not spinning while the system is running, or when the system has been running for hours and can’t hold the set temperature during a normal Santa Clarita summer afternoon. These are not items on a checklist to watch; these are failures in progress. Every hour the system runs in these conditions makes the eventual repair more expensive. Dalton Heating & Air Santa Clarita offers free estimates in Santa Clarita, and every repair comes with a written price before any work starts and a written guarantee on the repair itself. Call (661) 621-3712 and a real person will answer, 24/7.
Frequently Asked Questions
During Santa Ana wind season and wildfire season, check your 1-inch filter every 2-3 weeks and replace it when it’s visibly loaded; that may mean replacing it every 3-4 weeks. During mild months, monthly inspections are usually adequate. The 90-day rule doesn’t hold up in the SCV’s dust and smoke conditions. Call (661) 621-3712 if you want help identifying the right filter size or upgrading to a 4-inch media cabinet.
Ice on the indoor coil or the copper line set means the refrigerant charge is low or the airflow across the coil is restricted, usually by a dirty filter or a failing blower motor. Shut the system off at the thermostat and stop running it until a technician can diagnose it. Running a frozen system risks destroying the compressor.
A properly sized system should run 15-25 minutes per cycle during peak afternoon heat, with 10-15 minutes off between cycles. Constant short cycles of 5-8 minutes suggest low refrigerant or an oversized system. A system that never cycles off from afternoon into evening is likely undersized or underperforming.
A proper tune-up in Santa Clarita should include filter replacement or inspection, condenser coil cleaning, electrical connection tightening, capacitor testing, refrigerant level verification, condensate drain flushing, thermostat calibration, and a written report of findings. Ask any company what their tune-up includes before you book; if they can’t list it, keep looking.
Not necessarily as a contract, but you do need at least one professional tune-up per year, and two is better given how hard our summers run the equipment. A maintenance agreement is just a prepaid way to get those tune-ups plus priority scheduling during peak season. Ask what the guaranteed response time is for agreement customers before signing.
Most AC repairs in the SCV run between $150 and $450 depending on the part. Capacitors, contactors, and condensate pump replacements sit at the lower end; blower motors and condenser fan motors run higher. Refrigerant leak repairs vary widely depending on the location and severity of the leak. Every repair from Dalton Heating & Air Santa Clarita includes a written price before work starts and a written guarantee on the repair. Call (661) 621-3712 for a free estimate on your specific issue.
The Bottom Line
Santa Clarita breaks AC systems in predictable ways: wind-driven dust and cottonwood seed clog condenser coils, summer heat waves push runtime to the limit every single day, fall fire events load filters with fine particulate, and winter freeze nights stress heat pump defrost cycles. A generic maintenance checklist misses half of that. The right checklist for the SCV is seasonal, specific, and based on observation: watch the filter more often than you think you need to, keep the condenser coil clear of the stuff our air throws at it, recognize the signs of a refrigerant leak early, and get a professional tune-up once a year before the first real heat wave. Do those things and your system will run longer, fail less, and cost less to operate. Skip them and you’ll be on the phone during a July heat wave paying for a repair that could have been a $150 fix in March.
Written by Marco Benitez, Owner at Dalton Heating & Air Santa Clarita, serving Santa Clarita since 2003.
See the difference
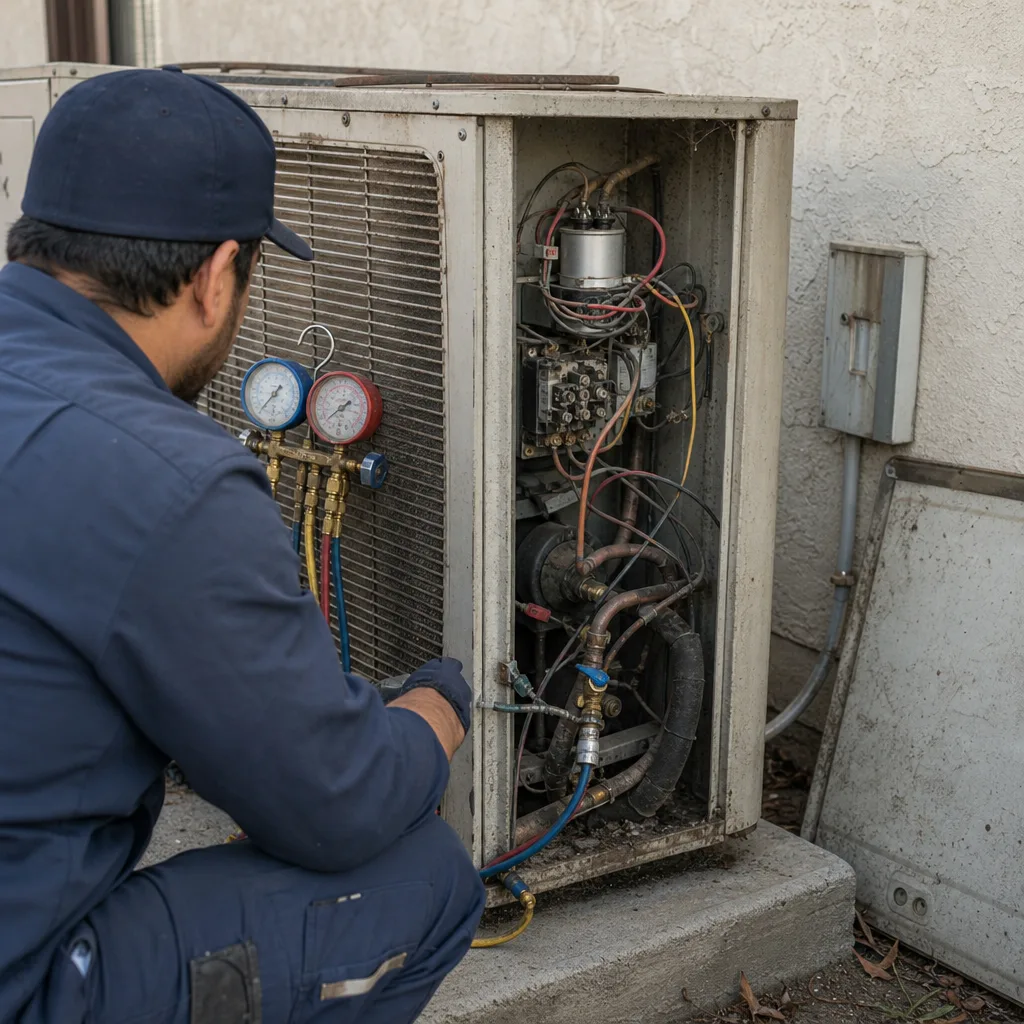 Before
 After
After Before
 After
After Before
 After
After